Don't you just LOVE wednesday's? Say hello to wednesday "hello wednesday" It's all downhill from now on to the weekend - yippee!!!
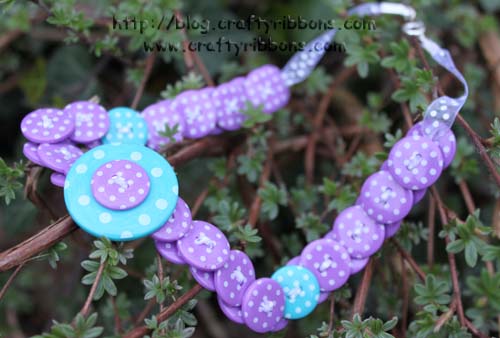
I know I have previously already shown you these little beauties, but not how to make them.
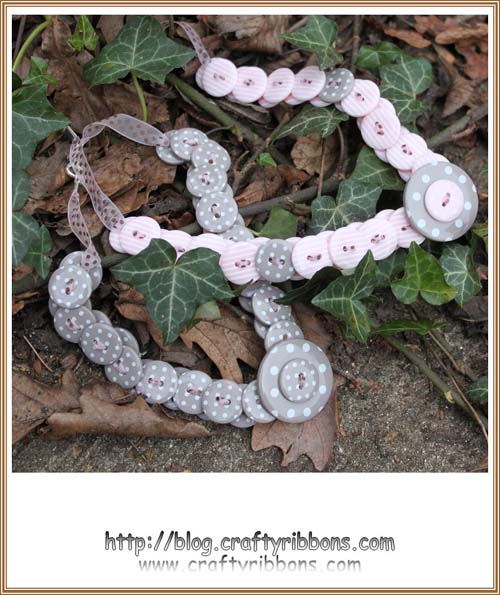
So here are the simple instructions.
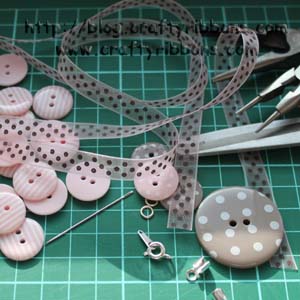
Gather all the bits you will need together - 1 large and 39 small buttons (spotty here, stripe here), 10mm Organza swiss dot ribbon here, normal needle, scissors, necklace findings and two pairs of small pliers.
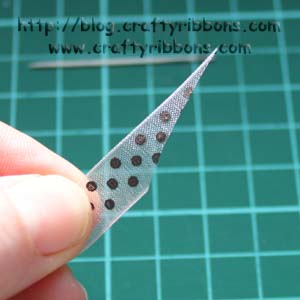
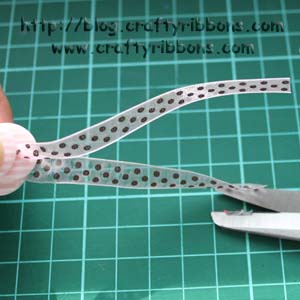
You need about 1mtr of ribbon, cut one end to a very sharp point.
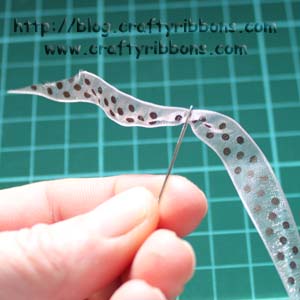
Thread the ribbon onto a normal needle.
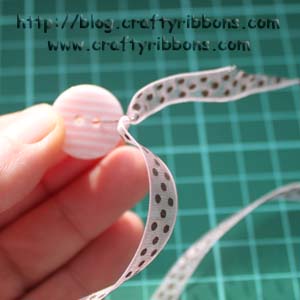
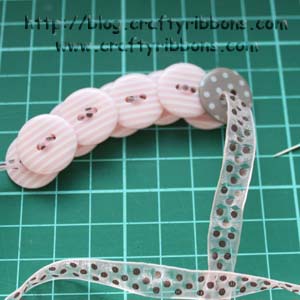
Take the needle and ribbon DOWN through one of the holes in the first button. Take the button to about 20cms from the other end of the ribbon.

Bring the needle and ribbon back UP the other hole.
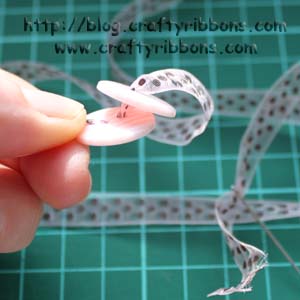
Take the needle and ribbon UP through the second button. then DOWN through the second hole, the buttons should be held close to each other by the ribbon.
Continue sewing UP and DOWN through the buttons, so that you have one row of buttons sitting on top of the other row.
If you are making a two tone necklace, add the second colour at the quarter point which is button number 10.
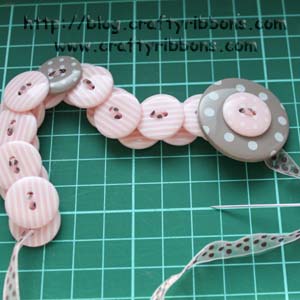
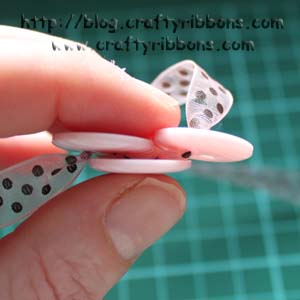
Button number 20 is the large one, but before you sew DOWN through the large button add the matching small button first, and then sew through both.
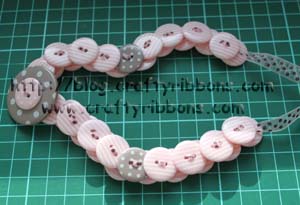
Repeat sewing the buttons together for the other side of the necklace.
Put the two last buttons on top of each other and cut the ribbon about 8cms away from them. If you wish to make the necklace longer, you should have enough ribbon to do so.
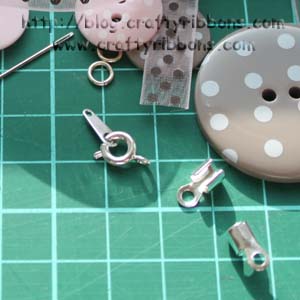
The next stage of the tutorial may be lacking in technical jewellery making terms - this was the first necklace I had ever made. I went to Hobbycraft and bought, 1 packet of small silver jump rings (you need 2 per necklace), cord/leather grip ends - these are to clamp around the ribbon,once again two are required and then one set of spring clasps with a tab - this allows you to clasp and unclasp the necklace. The shop assistant had no problem with my terminology and found everything I needed.
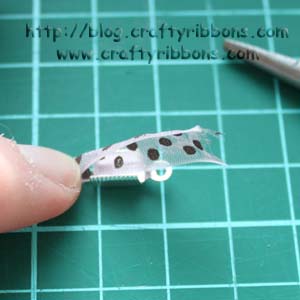
Place the ribbon into the cord/leather end clamp, so that the raw end of the ribbon covers the small little circle at the end.
Using a pair of pliers, clamp one side down, repeat with the other side. Do exactly the same on the other end of ribbon.
At this stage my battery ran out on my camera, so there is a slight change of light.
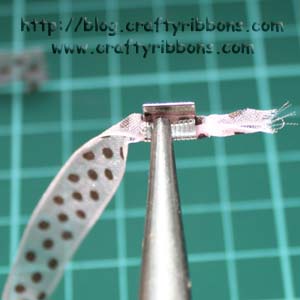
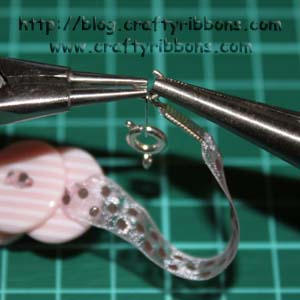
With two pliers open up the little silver jump rings, do not pull them apart but slightly twist them to open.
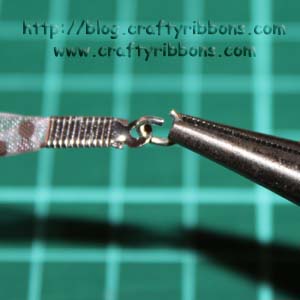
Pass the clasp that is attached to one end of the ribbon, through the silver jump ring.
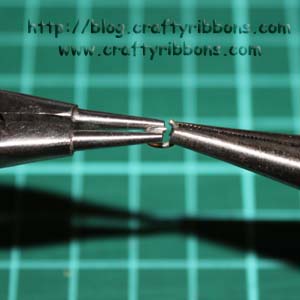
Then pass the necklace spring clasp tab onto the jump ring as well, using both sets of pliers close the jump ring in the same way as you opened it, by twisting. Make sure the ends are touching.
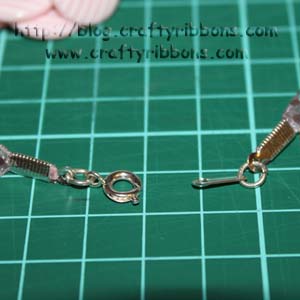
Repeat on the other side, so it should look like this.
Go and play with colours.
Enjoy