What do you do with.... a pack of ribbons?
As you know our annual January Pack SALE is on at the moment - all packs £1.00, a massive saving on our normal price of £5.00. I know you all enjoyed the countdown to Christmas we had last month, so I thought I would give you a few ideas to use some of the packs. I will not promise a posting a day, just depends what inspiration I get!!!
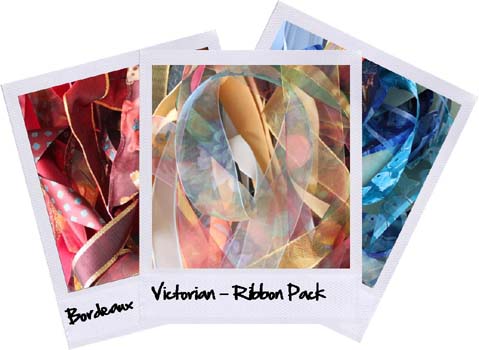
The project today can be made from the Victorian Ribbon Pack. This pack has soft muted sheer ribbons, wire edge golds and a shot taffeta green which is perfect for leaves.

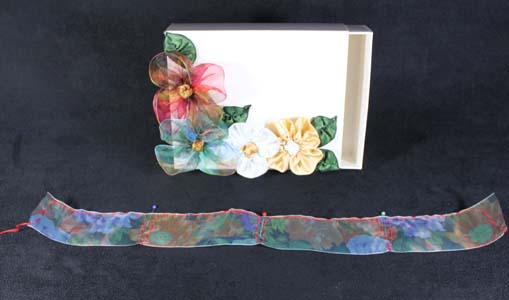
I decorated one of our selection boxes with ribbon flowers and leaves, but you can use the same idea for cards, summer straw hats. So here goes, lets hope you can follow my instructions -
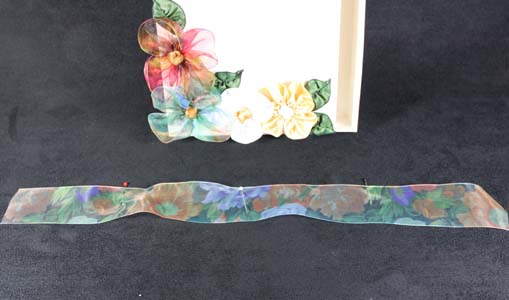
Cut a 40mm wide ribbon to about 40cms, this is a sheer but you can use any ribbon. (If it is wire edged then remove the wire from the edge to be pinned.) Fold the ribbon in half and mark with a pin, fold in half again and mark with pins. This will give you 4 equal sections, each section is a petal. If you want a five petal flower then fold into 5 equal sections etc.
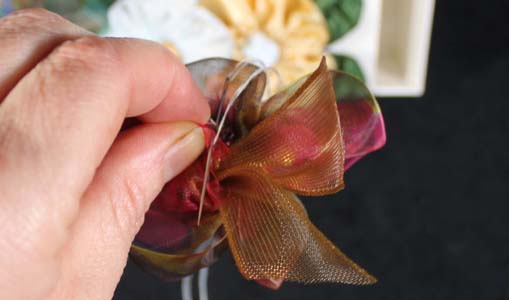
Start at the top edge of the ribbon with out the pins. Secure your thread, give it a tug to make sure it will not come undone. Sew small running stitches down the cut edge of the ribbon (not too close), along the bottom edge to the first pin, up from the pin to the top edge of the ribbon and back down the pin again. You should have created a U shape of sewing. Repeat to the end of the ribbon so you have 4 u's - uuuu
Gently pull the thread to gather the ribbon, pull it as tight as you can.
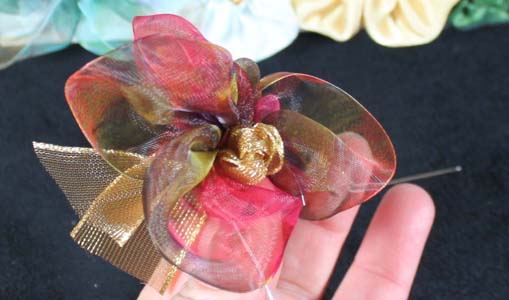
Tie a knot in a small length of ribbon, and enclose the flower around the knot.
Secure the two ends of the flower together. You only want to join two small pieces of ribbon, the piece where you secured the thread and the piece where the last stitch was sewn. This is called "kissing the ribbon" i.e a small peck!!! Secure with a few stitches, making sure you keep the gathers in tightly around the knot of ribbon. (I hope you understood all of that!) If you feel the centre knot is loose then just put a few extra stitches in to secure it.
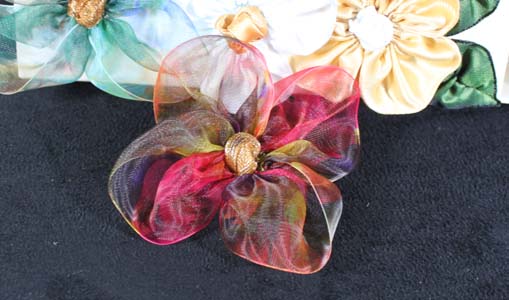
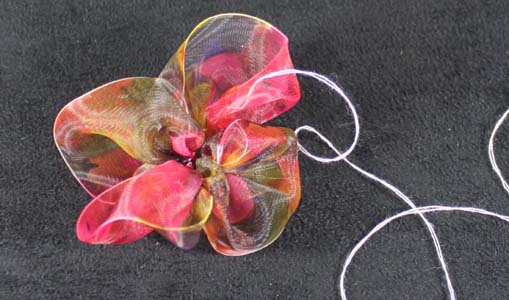
If you did your flower will look like this. Play with it slightly to give it some shape. try different widths and lengths of ribbon and see what you come up with. I used these flowers on Mollies scrapbook Page, you can see it by CLICKING HERE
For the leaves, I used a 15mm wide ribbon 12cms long.
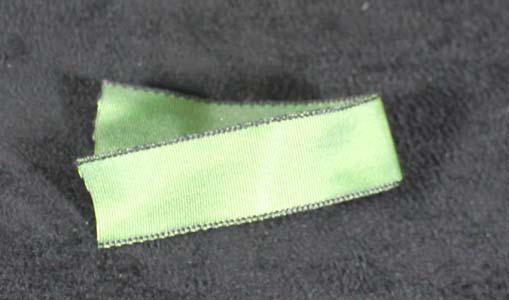
Fold the ribbon in half.
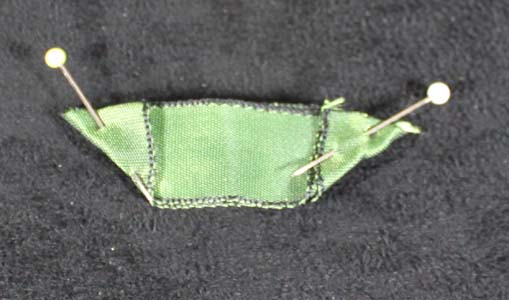
Fold both edges up at right angles and secure with pins. It should look like a little boat.
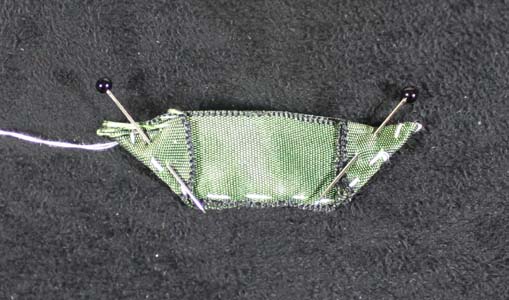
Sew all the way around the outside of the ribbon.
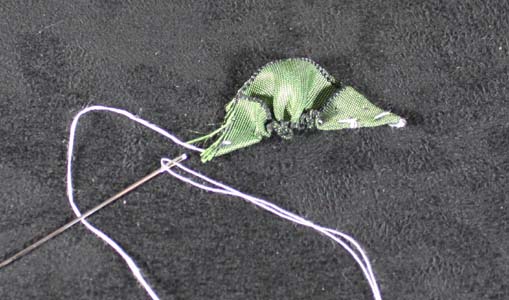
Pull the thread so the ribbon gathers, not to much. Secure with a stitch or two.
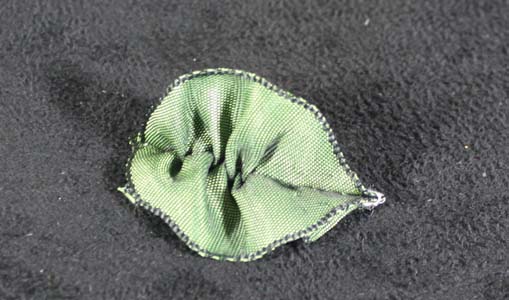
Open up the ribbon and you will find the leaf!! Magic!!
Thank you for such a postive response to our first ribbon challenge of the year, first time I have closed it the same day as launching it, although I must do something about my counting - somehow I can not seem to stop at 10, Tee Hee. It was almost a 50/50 for traditional and contemporary. I love ribbon challenges when the goodies start to arrive back. It's like Christmas again, and all the parcels are MINE!!!!