We launched a NEW Range today, rather classy we think.
MONOCHROME
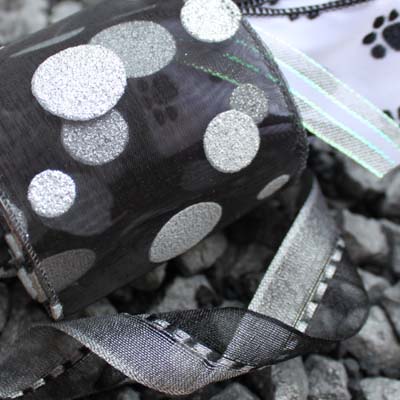
We added the NEW Ribbons to our existing Black & White range, so there are now loads and loads of black and white ribbons on our site, just waiting to be loved, stroked and played with.
Well, I had to have a play - with all those ribbons to choose from, who would be able to resist. So Friday night I took a roll of each ribbon home with me, I sat and stroked them all evening - just to get the feel! Then it hit me, an idea.....
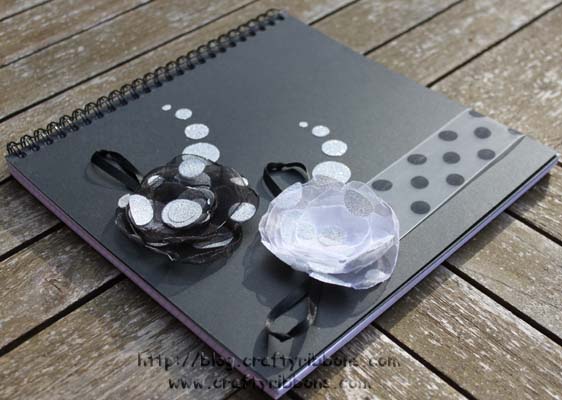
...those glitter dots were just calling me. Look what beautiful flowers they make....
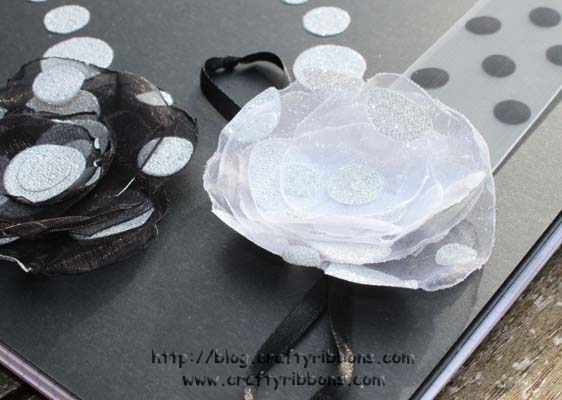
Singed Ribbon Flowers
If you want to know how to make them, then continue reading as here is the next tutorial in our Flower Week - A Bloom a Day.
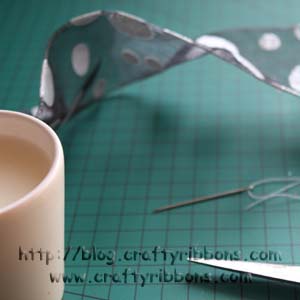
1. Gather all the bits you need together - Scissors, needle and thread, candle and matches, a glass of water and sheer organza ribbon. Any organza ribbon works, I used a 70mm wired edge glitter dot (you can find it HERE) in black and white.
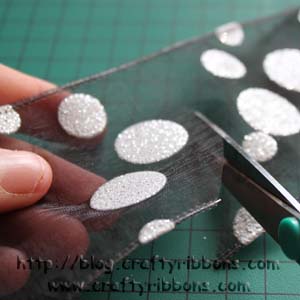
2. Cut a large circle(ish) shape from the ribbon. (If you are using the Glitter Dot Ribbon (HERE), then try to leave some plain sheer ribbon around the edge of the dots - I will explain why later on). Keep cutting smaller circle(ish) shapes from the ribbon.
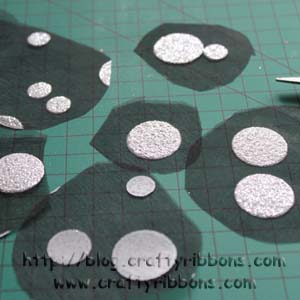
3. You want 4 to 6 different sized shapes, as you can see they do not need to be perfect circles.
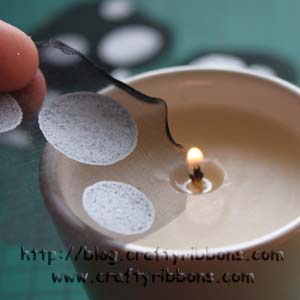
4. Light your candle, (I really enjoyed this bit, I think I have a hint of a pyromania as well as ribbonholic in me!!) you can do this with a lighter but I found with the candle you have more control. Keep the glass of water close to hand, just in case you need to dunk the ribbon.
Pass the edge of the sheer organza ribbon close to the flame, you will see the edges of the ribbon start to singe. Keep moving the ribbon around so all the outer edges of the shape is singed. If using the glitter dot ribbon, you will find the dots produce a flame, but no problem either blow it out or dunk in the water.
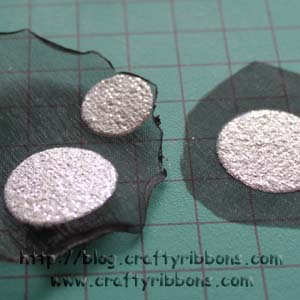
5. You can see the difference between singed and not singed.
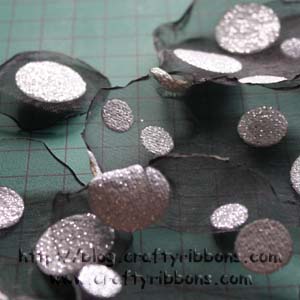
6. Continue singeing all the ribbon shapes.
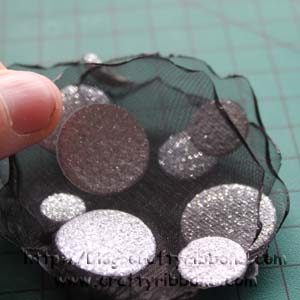
7. Start with the largest shape and layer the other ribbon shapes ontop, finishing with the smallest.
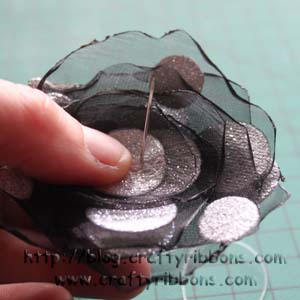
8. Thread the needle and put a knot in the bottom of the thread. Gently pick up the flower and secure the centre with a stitch.
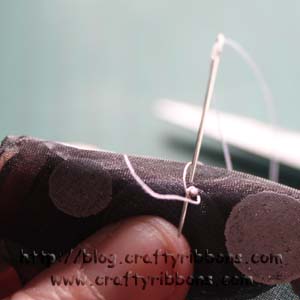
9. Secure at the back of the flower with a few extra stitches.
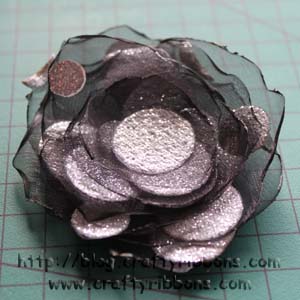
10. Finished Singed Ribbon Flower.
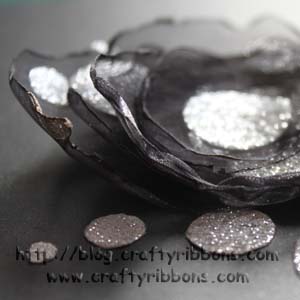
I could not waste those glitter dots, so I just put some double sided tape onto the back of the dots and cut them out - simple!
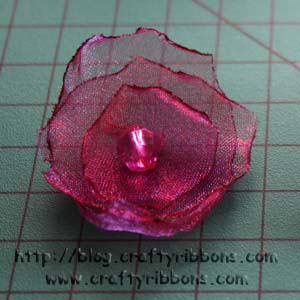
Here is a little pink flower I made from some 40mm ribbon (it's in our Bargain Basket and can be found HERE). Just 3 circles and a bead in the centre.
I am enjoying our Flower Week, hope you are too.
If you have a spare moment then have a look over at The Crafty Pad, they have a NEW competition starting today. You could win an exclusive collection of ribbons to match promarker pens.

Have a great evening and don't forget if you are trying these Singed Ribbon Flowers - be candle safe.
