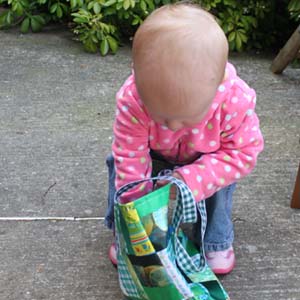
Oh I have had a wonderful time playing with ribbons this weekend. I finally caught the cold/flu/virus/bug thing that everyone in the warehouse has had, so it was perfect just to sit back feeling sorry for myself and indulge in my pleasure of ribbon. More of that later, first we have the Friday FREEBIE winner. I managed to get an action shoot of the number being picked by Mollie.
The Friday FREEBIE winner is.....
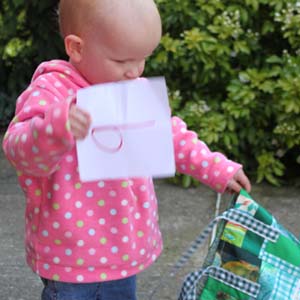
....Number 9 Craftykitten
Craftykitten wrote - "Yummy, piles of pink prettiness to play with how cool would that be!! Good luck with your wall, lets hope you find loads of yumminess for more Friday Freebies!!
Hugs
Dawn x"
Congratulations Dawn, we hope you will be "Tickled Pink" with your prize, please do leave a comment and send us your address to craftyribbons@gmail.com. Thank you for all the other wonderful comments, Rachie and I did not make it all the way through the WALL! All you could hear were "Oooohs" and "Arrrrrhs" as we opened a new box. We will be back on WALL duty later in the week.
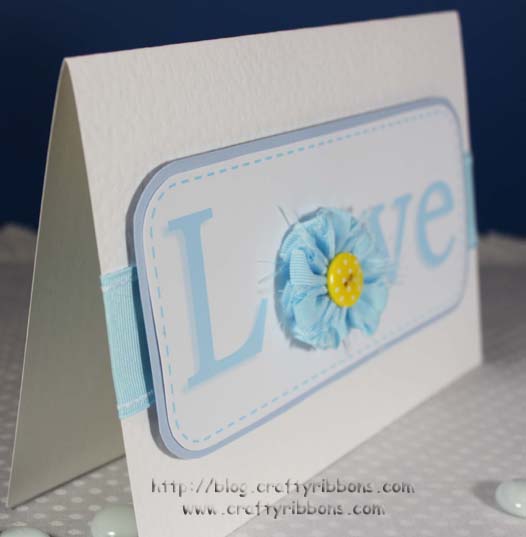
We all LOVE Ribbon (I don't think that is in question!) and I LOVE Flowers, so I have combined my two LOVES - Ribbon Flowers. Every day this week I am going to show you how to make a different ribbon flower, a bloom a day!
Shaggy Ribbon Flower

This Shaggy Ribbon Flower looks great and is really easy (I Promise) to make, this side view shows you how shaggy it is!
It is a while since my last tutorial, but here goes. (Apologies for the state of my thumb, I had an accident on Friday with one of the boxes from the WALL.)

1. Gather all your bits together. You will need a needle and strong thread, a small button (the spotty ones can be found HERE). The ribbon I used is a 22cm length of 40mm Grosgrain (HERE), but you can use any ribbon width, just change the length that you use.
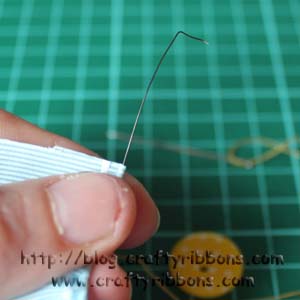
2. My grosgrain ribbon had wired edges, so I just eased back the ribbon to find the end of the wire, then pulled it out. Repeat for the other side.
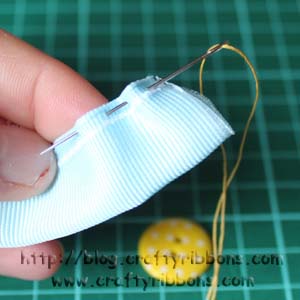
3. Thread the needle with strong sewing thread, you have to pull the thread really tight, so test the thread first to make sure it will not break, put a knot at the end of the thread. Fold the ribbon in half width-wise and sew along the top edge, do not make your stitches too small, about 8-9mm and the same distance from stitch to stitch.
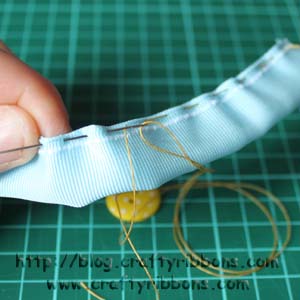
4. Continue sewing along the length of the ribbon.
5. Once all sewn, it should look like this, remove the needle and open up the ribbon to remove the gathers.
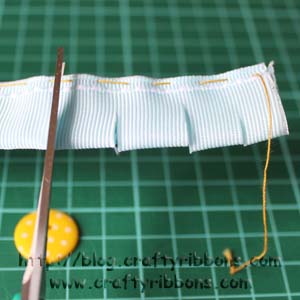
6. Snip the ribbon about 1cm apart, do not go all the way to the sewn line. Continue snipping all the way along the length of ribbon.
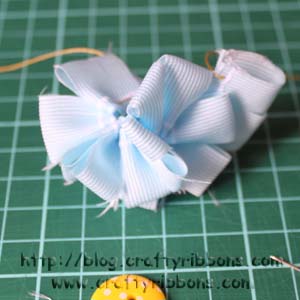
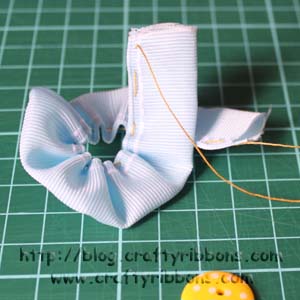
7. Gather up the ribbon, pull it really tight and knot the thread to hold the gathers in place. Make a second knot to be safe.
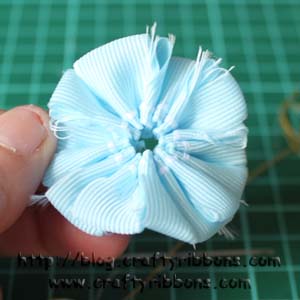
8. Your ribbon may have already started to fray, if not rub it between your thumb and fingers. This will loosen the fibres where it has been snipped.
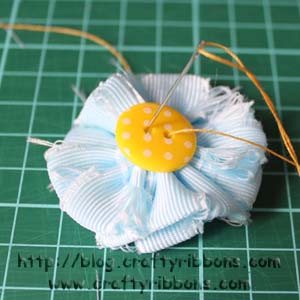
9. Sew the button to cover the hole in the centre of the flower.
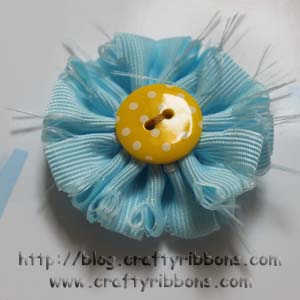
Finished Shaggy Ribbon Flower.
I enjoyed making that, I now have a collection in different colours. You do not have to use grosgrain ribbon, have a play with other types. The more open weave the ribbon is the better "Shaggy" effect it will give.
Hope you will join me for tomorrows workshop, you will need a candle!