Don't you just LOVE wednesday's? Say hello to wednesday "hello wednesday" It's all downhill from now on to the weekend - yippee!!!
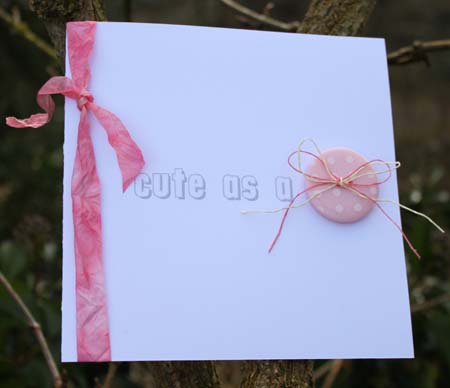
I designed this card for my friend, she is not a girly girl, you know pink, lace over the top sort of mum. I wanted to give her something very simple but what I thought was elegant. Her 6 day old baby girl got rushed into Great Ormond Street Hospital last week and underwent a 6 hour open heart operation to reverse the valves of her heart. All went well and she is responding to treatment and should be out of hospital soon. It is a pure miracle what can be done. I hope she likes it.

I love these large buttons (here) and they were just perfect for my card. For the twine bow I used our Summer Fizz Cord (here) it comes in two colours pink or blue. There are nine seperate twines that have been pleated together to make the cord, so at 30p per mtr it is a bargain. All I did was pull two of the twines from the pleat, threaded it through the button and tied a bow.
I have received several emails asking what I mean by distressing our Seam Binding. So thought there was only one way to show you. There are many ways in which you can achieve this vintage look, I only have limited tools and too far away from any shops to dash out and get new ones, so I used what I had.
Distressing Seam Binding to create a Vintage Style ribbon tutorial.
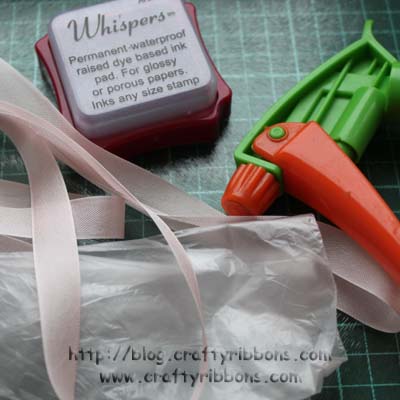
Gather the bits around you, a water spray or mister, a plastic bag, ink pad, a glass work top and some Seam binding which you can find HERE. The glass work top is so you do not ink your table, if you have a stamping mat use that or even a sheet of laminated card.
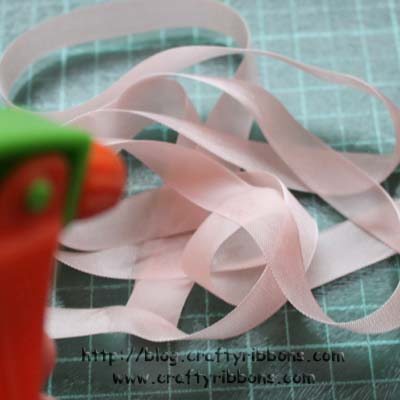
Spray the seam binding ribbon with a little water, you do not want to soak it, but just make it damp in places. The colour of this seam binding is a very pale pink, you do not have to start with a white or cream colour.
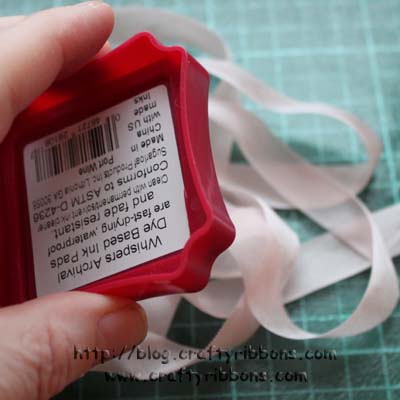
I used a normal ink pad and just placed it on the ribbon, a bit scary the first time you do it!
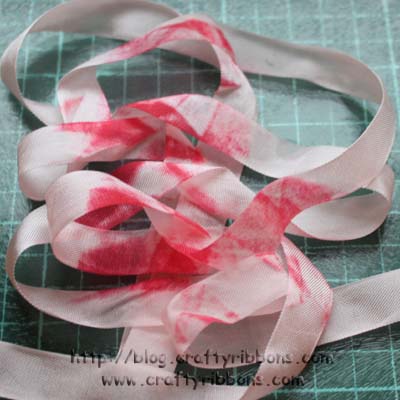
As you can see the ink has only covered part of the ribbon, this is what you want.
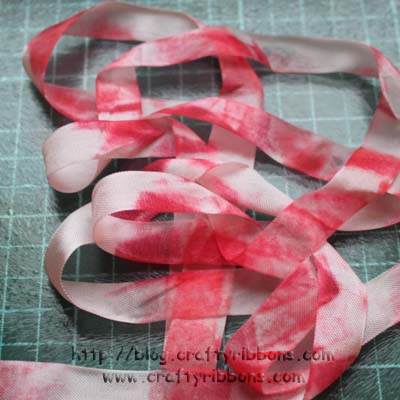
Spray with a little more water and ink again.
Mix the ribbons around, soaking up any stray water or ink from the glass surface.
All inked up. You can experiment and use more then one colour of ink, I wanted mine to be simple remember.
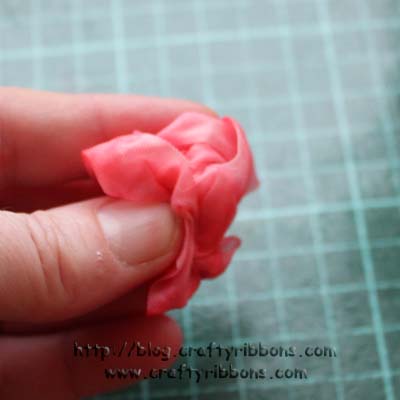
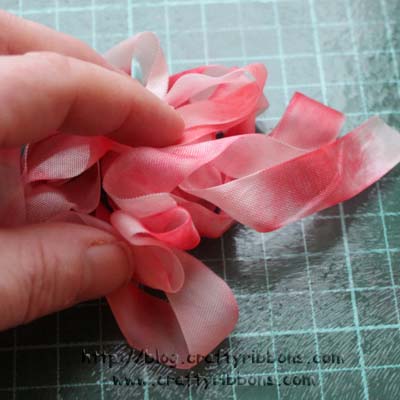
Scrunch the ribbon into a tight ball.
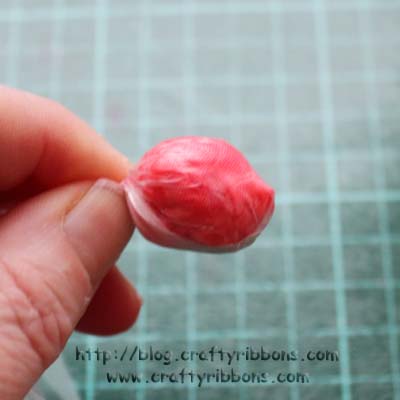
Push the ribbon into a corner of a plastic bag, twist it several times to make it secure. Leave this overnight if you can bear to or at least a couple of hours.
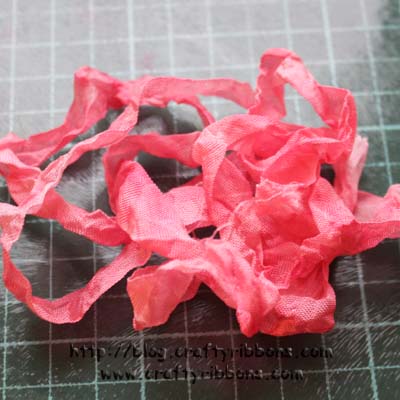
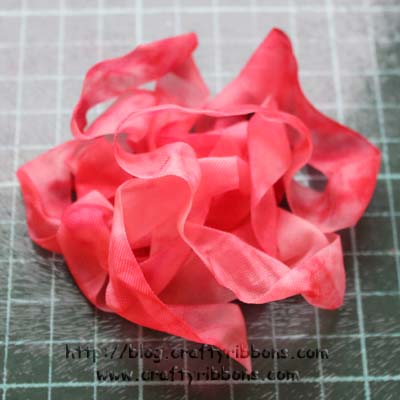
When it comes out of the plastic bag it will look like this, allow it to air dry.
It really is that simple, just play with your inks and sprays and see what you come up with. The ribbon is so cheap at less then 17p per mtr that you can have a few plays!! Also do not forget to play starting with a coloured base ribbon, you will be surprised.
Have fun playing, I wish I was back in my play room rather than in an exhibtion centre.